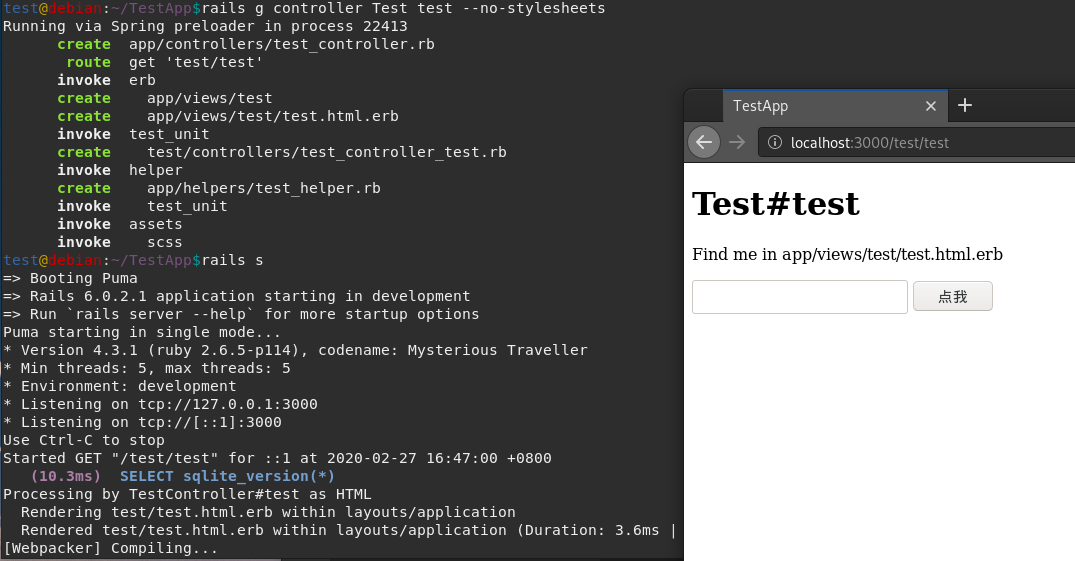
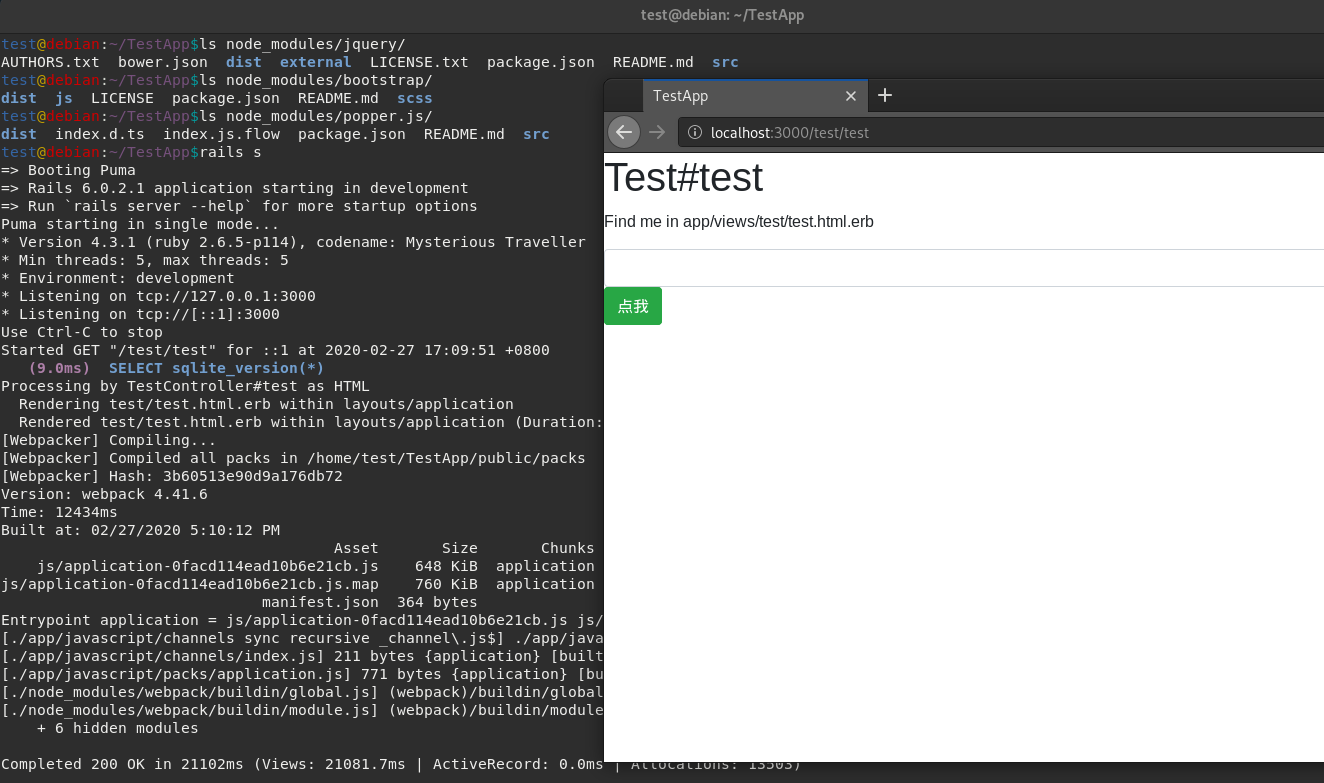
test@debian:~/TestApp$rails s
=> Booting Puma
=> Rails 6.0.2.1 application starting in development
=> Run `rails server --help` for more startup options
Puma starting in single mode...
* Version 4.3.1 (ruby 2.6.5-p114), codename: Mysterious Traveller
* Min threads: 5, max threads: 5
* Environment: development
* Listening on tcp://127.0.0.1:3000
* Listening on tcp://[::1]:3000
Use Ctrl-C to stop
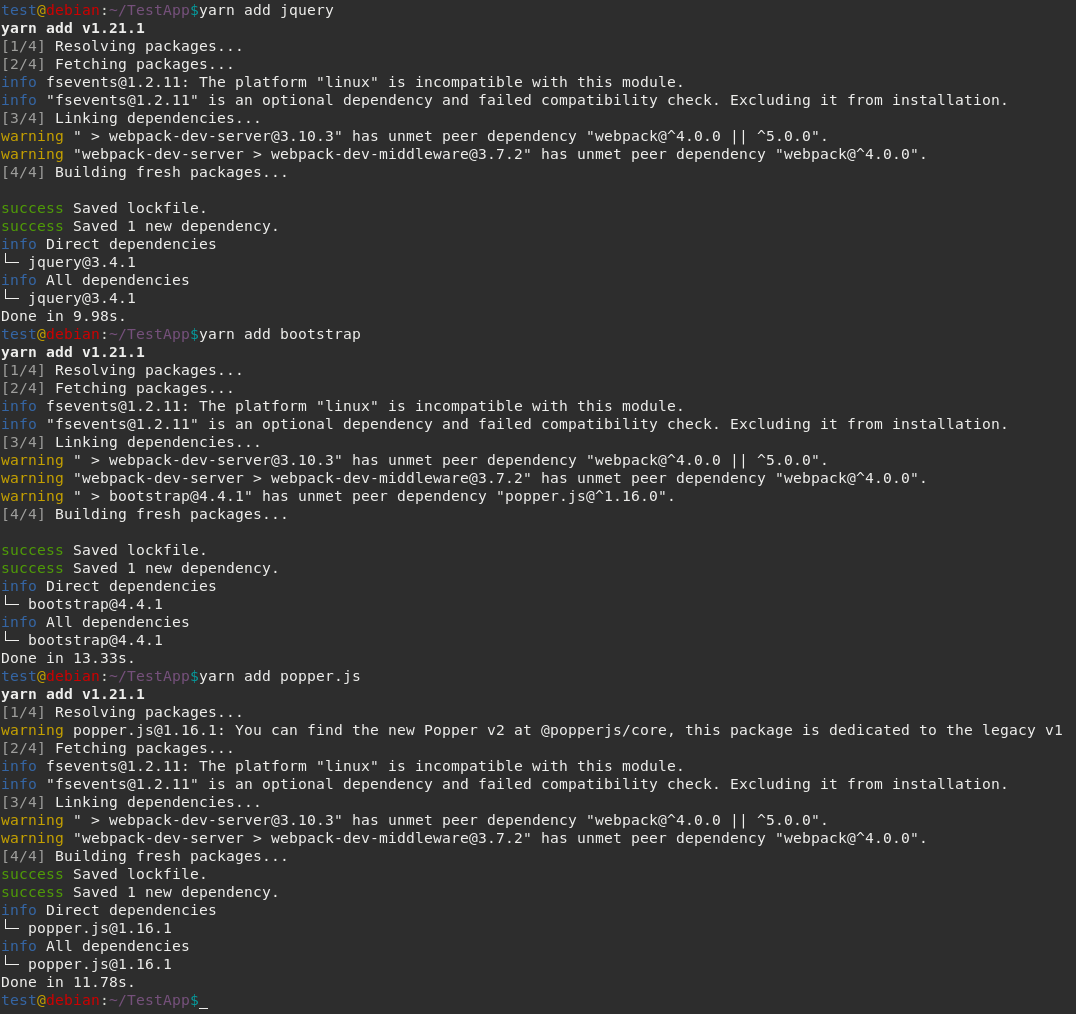
test@debian:~/TestApp$yarn add jquery
yarn add v1.21.1
[1/4] Resolving packages...
[2/4] Fetching packages...
info [email protected]: The platform "linux" is incompatible with this module.
info "[email protected]" is an optional dependency and failed compatibility check. Excluding it from installation.
[3/4] Linking dependencies...
warning " > [email protected]" has unmet peer dependency "webpack@^4.0.0 || ^5.0.0".
warning "webpack-dev-server > [email protected]" has unmet peer dependency "webpack@^4.0.0".
[4/4] Building fresh packages...

success Saved lockfile.
success Saved 1 new dependency.
info Direct dependencies
└─ [email protected]
info All dependencies
└─ [email protected]
Done in 9.98s.
test@debian:~/TestApp$yarn add bootstrap
yarn add v1.21.1
[1/4] Resolving packages...
[2/4] Fetching packages...
info [email protected]: The platform "linux" is incompatible with this module.
info "[email protected]" is an optional dependency and failed compatibility check. Excluding it from installation.
[3/4] Linking dependencies...
warning " > [email protected]" has unmet peer dependency "webpack@^4.0.0 || ^5.0.0".
warning "webpack-dev-server > [email protected]" has unmet peer dependency "webpack@^4.0.0".
warning " > [email protected]" has unmet peer dependency "popper.js@^1.16.0".
[4/4] Building fresh packages...

success Saved lockfile.
success Saved 1 new dependency.
info Direct dependencies
└─ [email protected]
info All dependencies
└─ [email protected]
Done in 13.33s.
test@debian:~/TestApp$yarn add popper.js
yarn add v1.21.1
[1/4] Resolving packages...
warning [email protected]: You can find the new Popper v2 at @popperjs/core, this package is dedicated to the legacy v1
[2/4] Fetching packages...
info [email protected]: The platform "linux" is incompatible with this module.
info "[email protected]" is an optional dependency and failed compatibility check. Excluding it from installation.
[3/4] Linking dependencies...
warning " > [email protected]" has unmet peer dependency "webpack@^4.0.0 || ^5.0.0".
warning "webpack-dev-server > [email protected]" has unmet peer dependency "webpack@^4.0.0".
[4/4] Building fresh packages...
success Saved lockfile.
success Saved 1 new dependency.
info Direct dependencies
└─ [email protected]
info All dependencies
└─ [email protected]
Done in 11.78s.
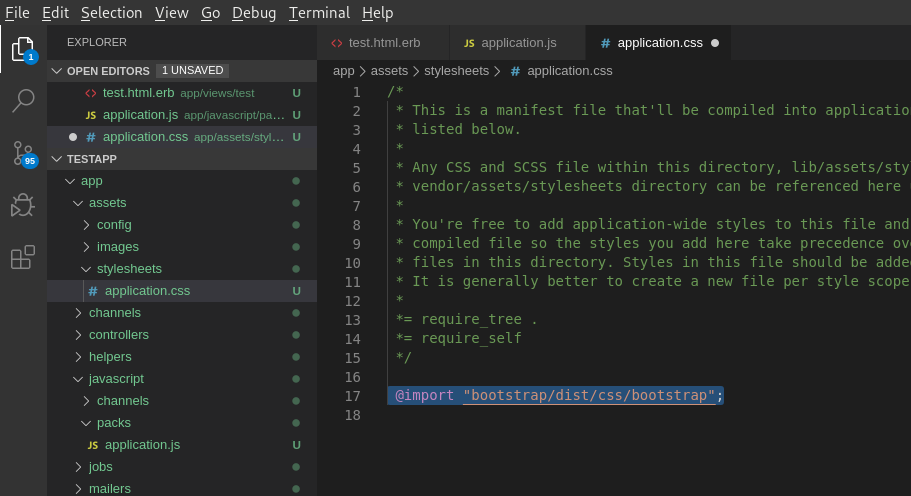
/*
 * File: app/assets/stylesheets/application.css
 * This is a manifest file that'll be compiled into application.css, which will include all the files
 * listed below.
 *
 * Any CSS and SCSS file within this directory, lib/assets/stylesheets, or any plugin's
 * vendor/assets/stylesheets directory can be referenced here using a relative path.
 *
 * You're free to add application-wide styles to this file and they'll appear at the bottom of the
 * compiled file so the styles you add here take precedence over styles defined in any other CSS/SCSS
 * files in this directory. Styles in this file should be added after the last require_* statement.
 * It is generally better to create a new file per style scope.
 *
 *= require bootstrap/dist/css/bootstrap
 *= require_tree .
 *= require_self
 */
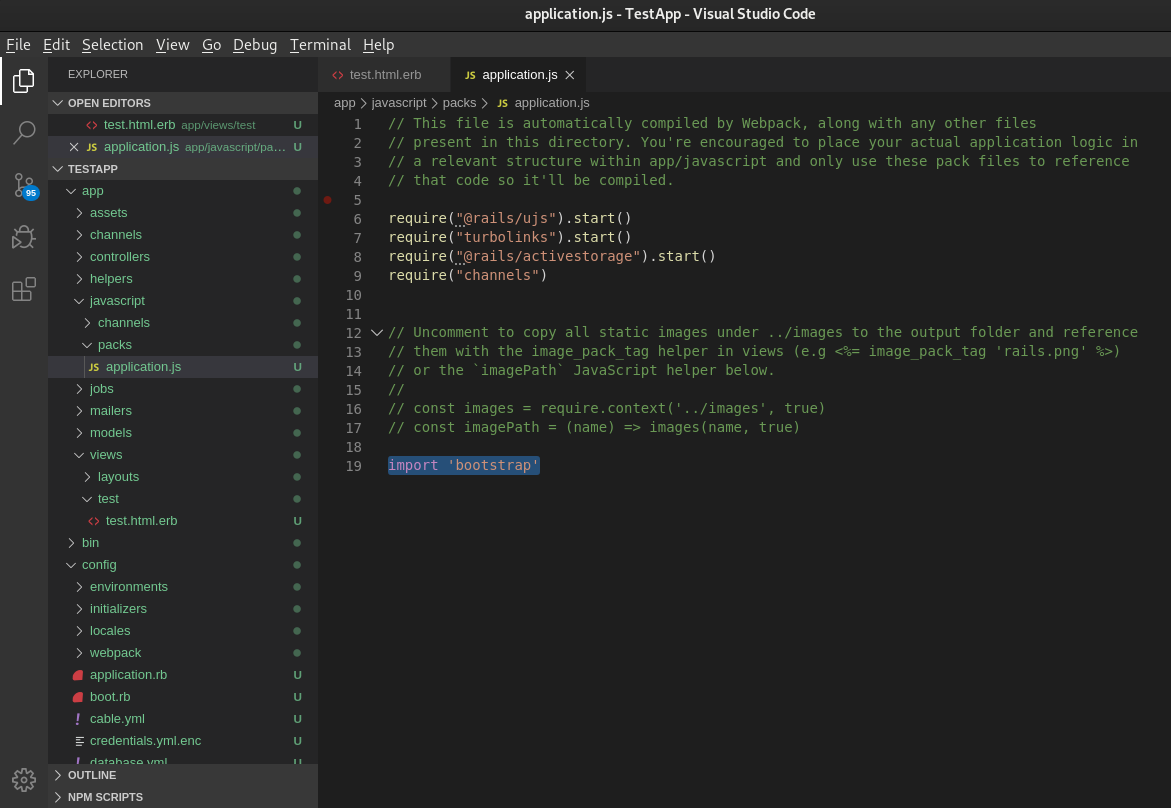
// This file is automatically compiled by Webpack, along with any other files // present in this directory. You're encouraged to place your actual application logic in // a relevant structure within app/javascript and only use these pack files to reference // that code so it'll be compiled.
// Uncomment to copy all static images under ../images to the output folder and reference // them with the image_pack_tag helper in views (e.g <%= image_pack_tag 'rails.png' %>) // or the `imagePath` JavaScript helper below. // // const images = require.context('../images', true) // const imagePath = (name) => images(name, true)
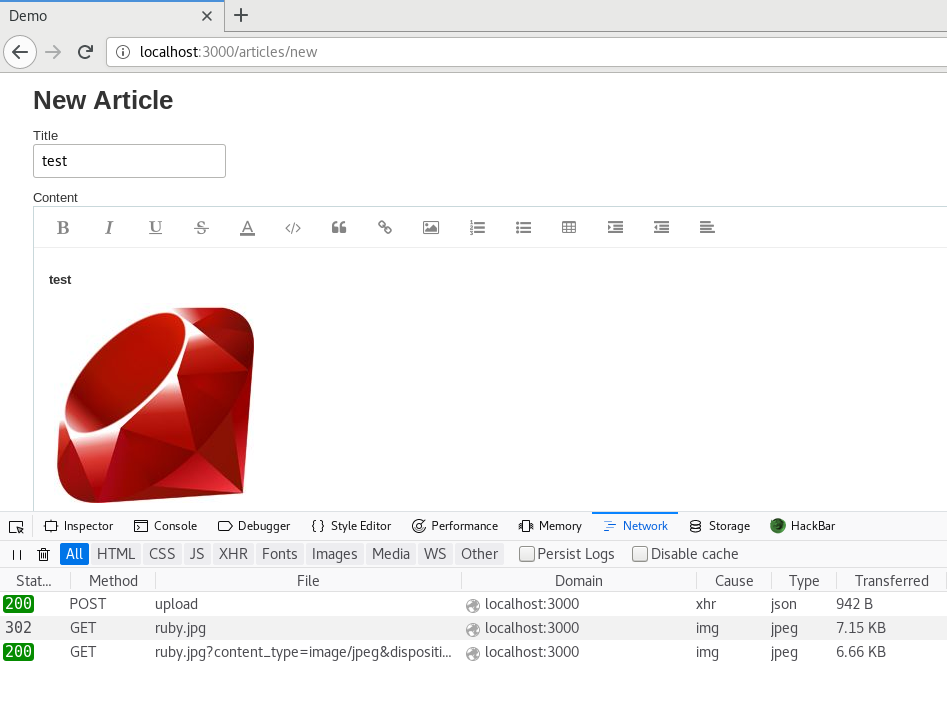
#config/routes.rb Rails.application.routes.draw do post 'images/upload' => 'upload#upload' resources :articles root to:'articles#index' # For details on the DSL available within this file, see http://guides.rubyonrails.org/routing.html end